Virtual try-on with Reliby button
Your customers use the Virtual Try-On Button to try your glasses.
Button appearances and versatility
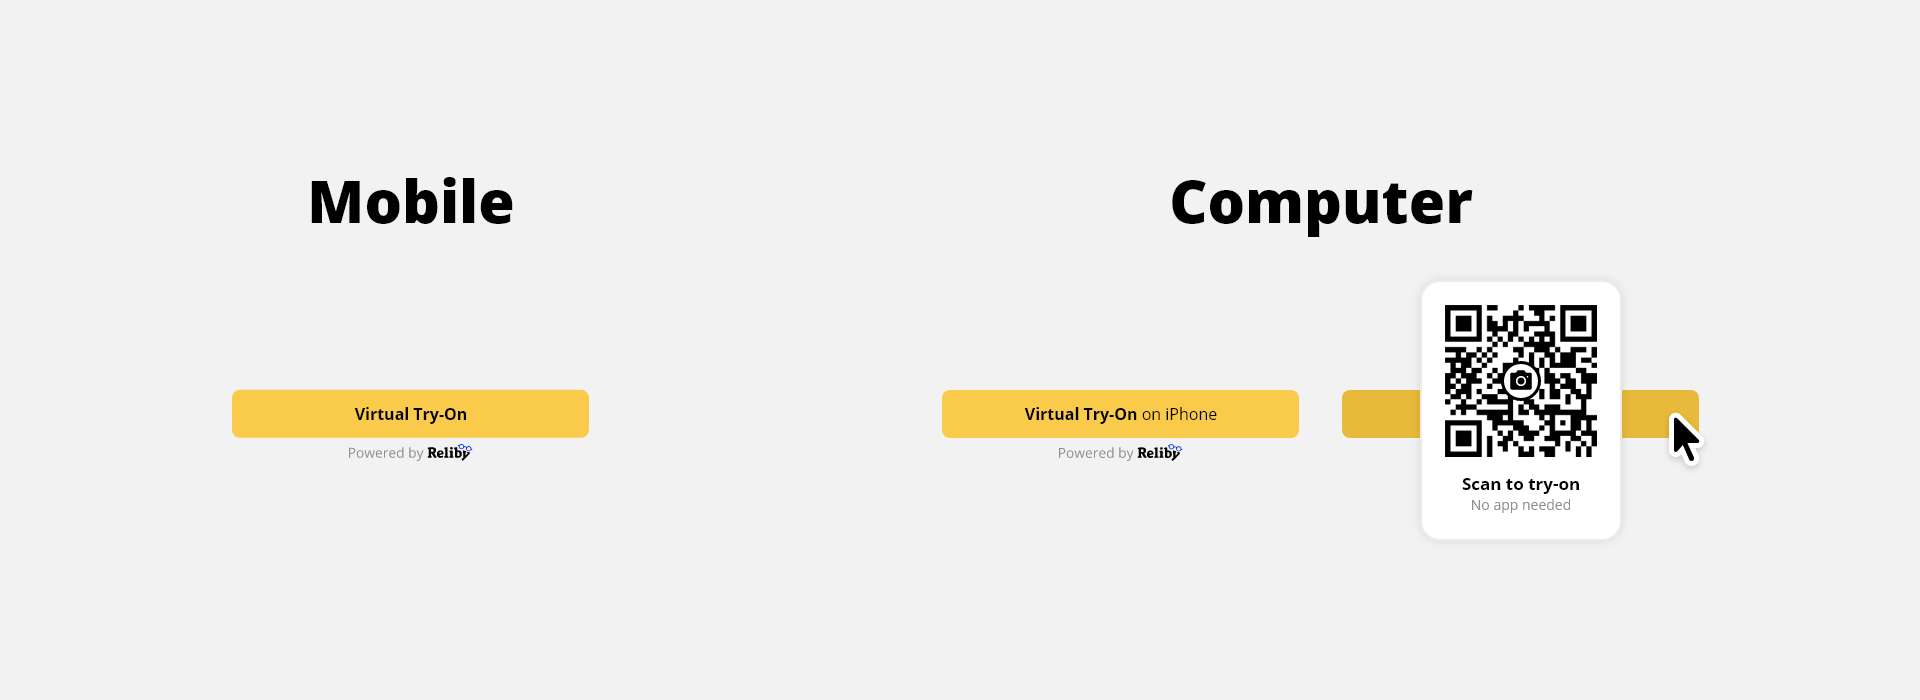
On mobile is easy, press the button and "bam!" Virtual Try-On, but the virtual try-on doesn't work on computers, so on PCs and Macs, the button shows a QR Code to scan their iPhones, and "bam!" Virtual Try-On, a seamless experience.
Customization
Not all websites are equal, an all of them have unique designs, that's why we designed a customizable button.
Here are your options:
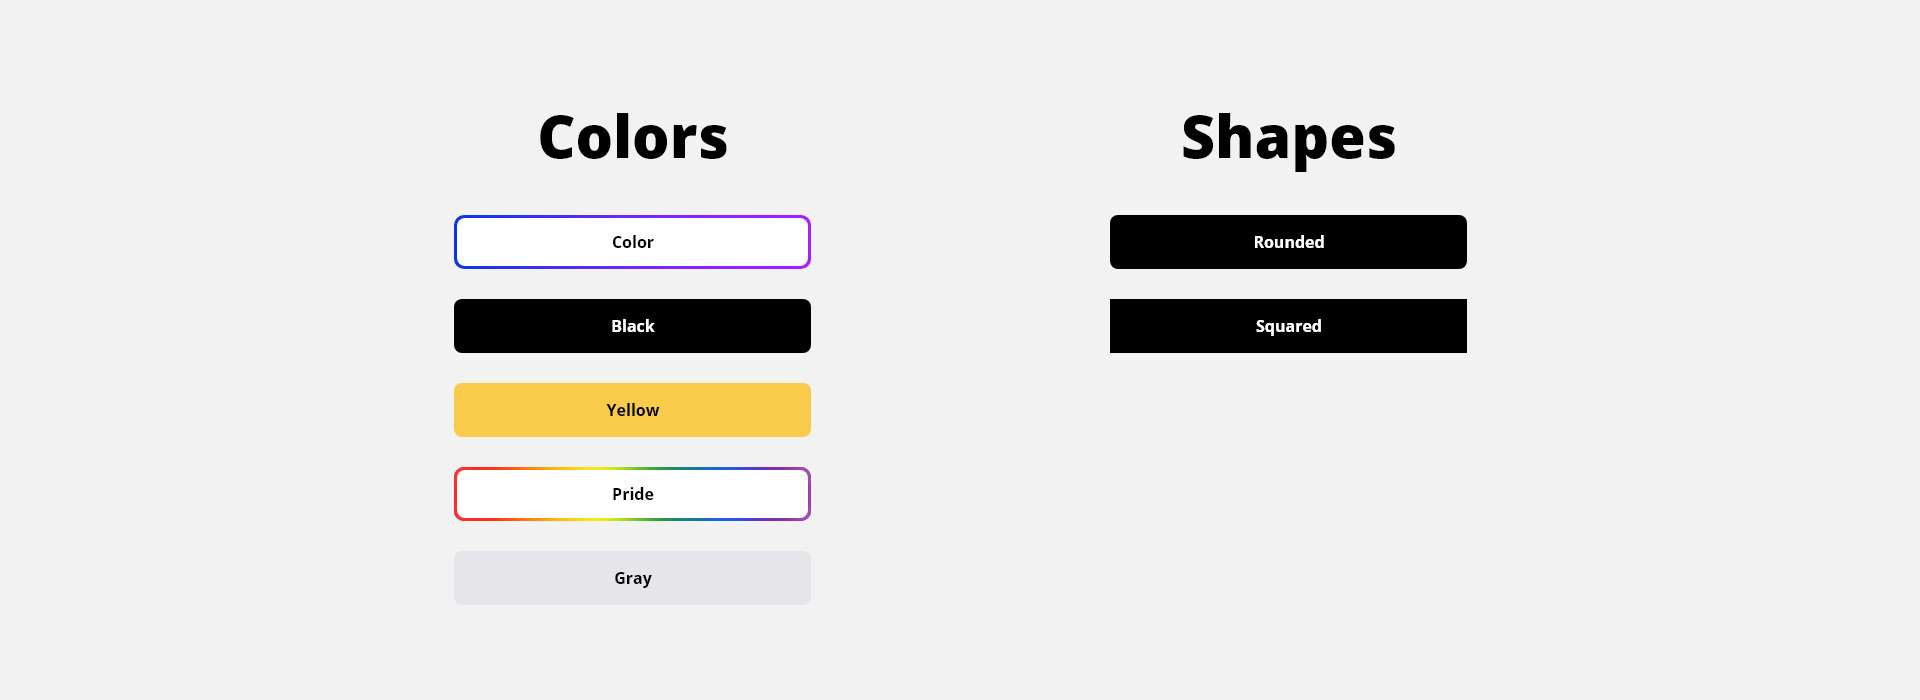
Color palette. Choose from different appearances:
Be aware the button should be a highlight on your website, as costumers are more likely to buy if they VTO the glasses, and thus, they need to notice you have that technology available for them.
colorfor a white button with a beautiful gradient around. This is the default appearance, and should be used if possible.blackfor a Black button.yellowfor a yellow button.grayfor a Grey button. Only over dark backgrounds, as doesn't have enough contrast over light ones.pridewe support the LGBTQ+ community, and we hope you do too, and thus you have a beautiful design, to let the world know!
Shape. You can customize the shape of the button:
roundedcreates a button with rounded corners (default one).squaredcreates a button with perfectly squared corners.
Further customization
Please do not try to customize the button, targeting our CSS classes. There are a few reasons why you should not do it:
- Different designs for each website make the button match better with each brand's style, but also make users with the application already installed (or who have received marketing from Reliby) have problems identifying you have the virtual try-on with us, and that can make them not try on the glasses and therefore lose that potential customer.
- We are constantly updating our products to improve them, so changes not controlled by us may cause unexpected compatibility issues.
How to add the button to your web
This section will guide you to add the button to your own web page.
This section is pretty generic, and requires some knowledge of the platform you are using as a point of sale (like Shopify or Squarespace), if you have problems please contact the Reliby team at contact@reliby.com and one of our engineers will help you solve it.
Specific guides
We also provide some guides on how to set up the button on some common services:
-
If your service is not listed above and you are having problems, please contact us to solve your issue and create a guide for the future.
Step 1
Identify the source code (HTML) for your website template.
<!DOCTYPE html>
<html>
    <head>
        <!-- This section contains some declarations used in your page -->
    </head>
    <body>
        <!-- This section contains the information and it's structure -->
    </body>
</html>
Copy this text inside the head section (<head> HERE </head>)
<script src="https://www.reliby.com//ContentsForBrands/TryOnButton/js/reliby-autoload.js"></script>
Step 2
Locate the source code (HTML) for the product pages you are using, this is were we will add the button. If you are using a visual editor, look for a RAW HTML container.
Now you have to decide inside the body where the button must be.
We suggest just below the buy button, so the users can see it, and not leave your site without knowing you offer Virtual Try-on.
And copy this code where you want the button to be:
<!-- You have to add this to your site where the button goes in the body -->
<div class="reliby-button-placeholder" id="reliby-model-id"></div>
Don't worry if you aren't seeing the button jet, just one more step to go.
Step 3
Now it is important to link each button to your glasses so the button knows which glasses to open in the app.
You will have to change each reliby-model-id with a unique ID provided by Reliby for each model. Reliby will provide you with an Excel file relating each model name, URL and reliby-model-id.
This is platform dependent, check the guides for each platform for more information.
Optional - Step 4
It's time to customize the button!
You can change the color and shape adding the fields data-variation and data-shape to the button html you inserted in Step 2.
With the values referenced in the appearance section.
<!-- This is a pride button with square corners -->
<div class="reliby-button-placeholder" id="reliby-model-id" data-variation="pride" data-shape="squared"></div>
That's all folks!
Once you completed these simple steps, you will be up and running.
Having problems? Let us know, we are here to help.