How to add the Reliby button in your WooCommerce web
Request the Reliby plugin.
We will email you Reliby.zip file. This is a plugin that extends the functionality of WooCommerce to work with Reliby.
Install the Reliby plugin.
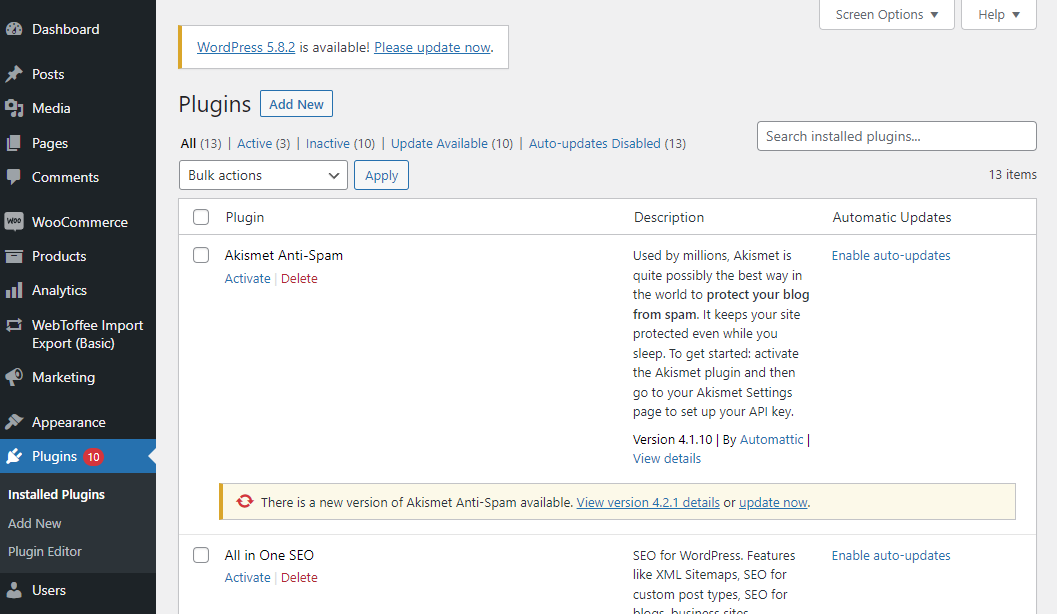
In your store management page, under the side bar menu Plugins, click on Add New button.
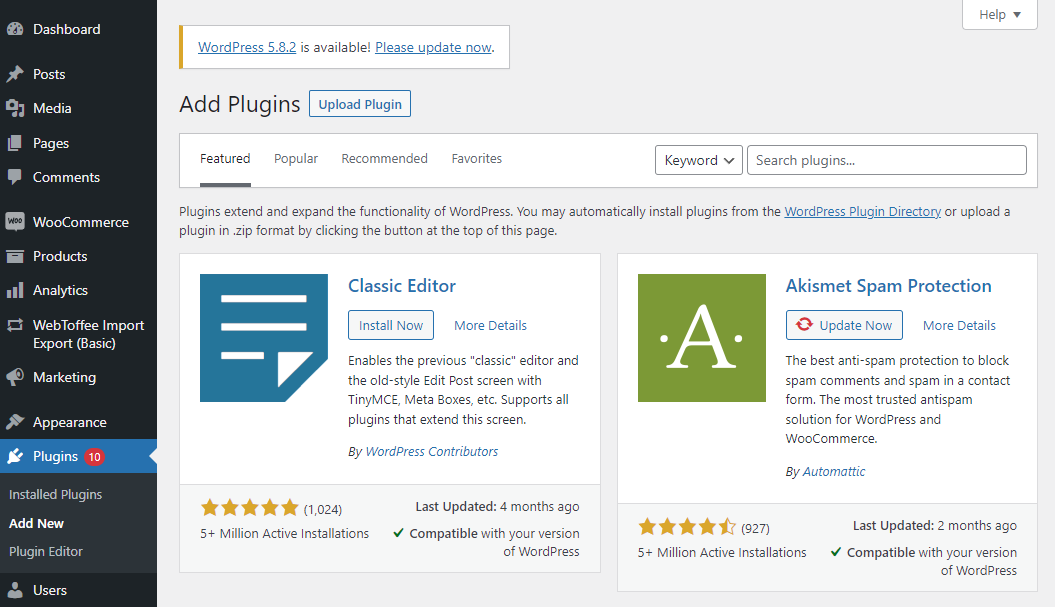
A new page will open, click on Upload plugin button.
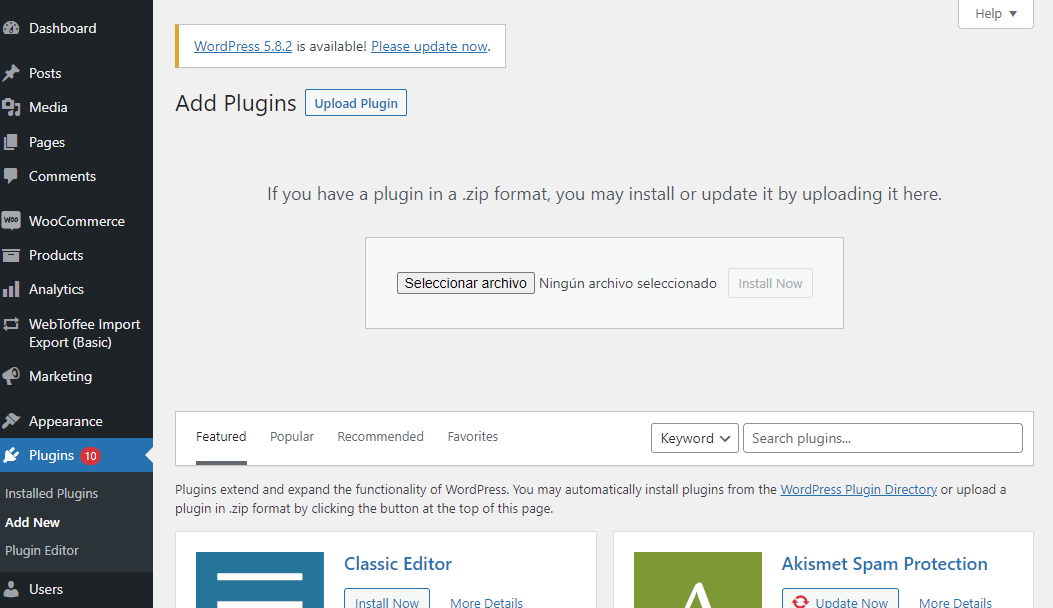
A panel will open to download the module, click on Select file button and a dialog will be open. Just find the Reliby.zip file, accept it, and click on Install Now button.
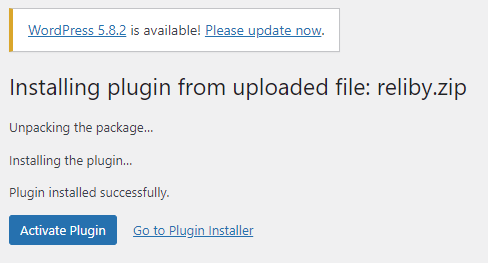
A message will appear indicating that the module has been installed, click on Activate Plugin button.
And so, you are done with the plugin, now you have to add the Reliby information to the products so the button knows which glasses to show in the app, let's check the next section.
Add the Reliby metadata to your products
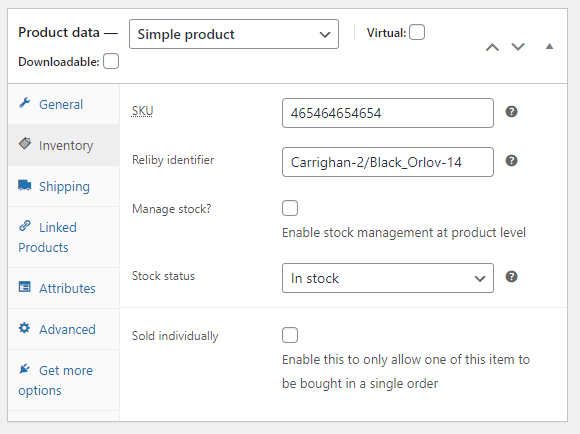
The button needs to know which glasses to open when your customers push the virtual try-on button, this is done with a little bit of information what we call the Reliby ID metadata. You will be provided with the IDs by the Reliby team, in the same email as the plugin.
Now for each product you have to add the Reliby ID provided by the Reliby team for each one of the glasses, as shown in the example below.
And you are done! Now all your customers will be able to try-on all your glasses!
Managed by Reliby Team
- The store owner has to give
SuperAdminaccess to contact@reliby.com. - Provide the Woocommerce URL.